
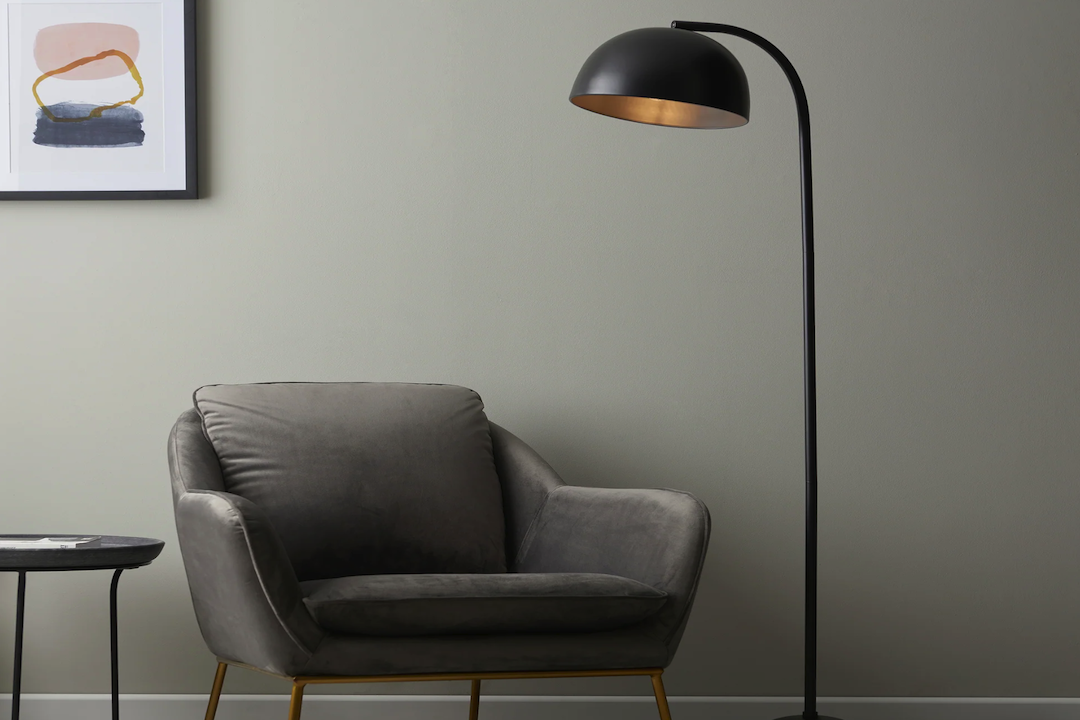
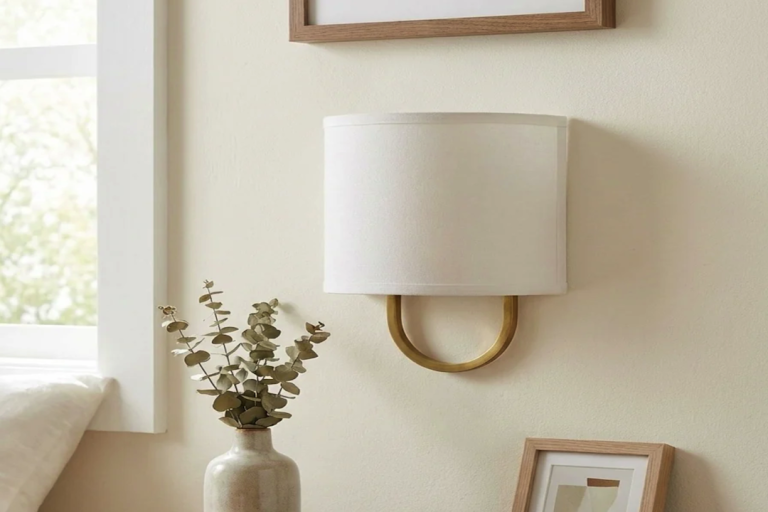
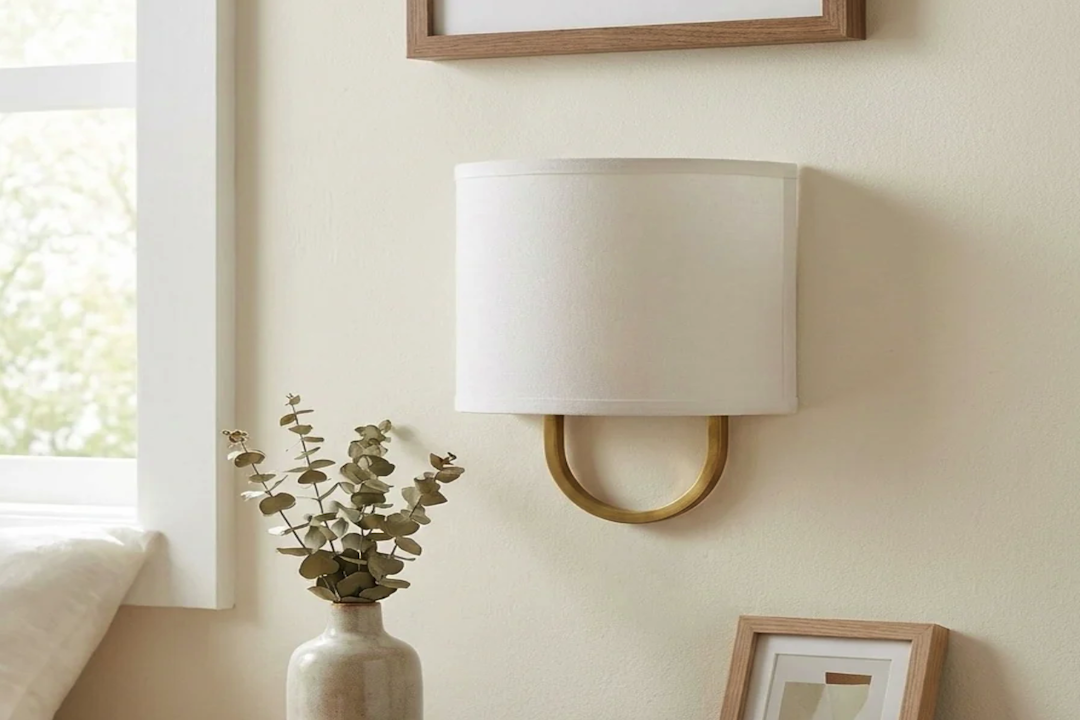
Selecting the perfect floor lamp is a crucial first step in enhancing your living space. The right lamp not only provides illumination but also serves as a statement piece that complements your decor. When considering your options, think about the style of your room.
For instance, if you have a modern aesthetic, a sleek, minimalist lamp with clean lines and a metallic finish may be ideal. Conversely, if your space leans towards a more traditional or rustic vibe, a lamp with ornate details or a wooden base could harmonize beautifully with your furnishings. Beyond style, functionality is another key factor in your decision-making process.
Consider the purpose of the lamp: will it be used for reading, ambient lighting, or perhaps as a decorative accent? If reading is your primary goal, look for lamps with adjustable arms or shades that direct light where you need it most. Additionally, pay attention to the height of the lamp Hotedecor ; a taller lamp may be more suitable for illuminating a reading nook, while a shorter one could work well beside a sofa or chair.
The type of bulb and its brightness are also essential considerations; LED bulbs are energy-efficient and long-lasting, making them an excellent choice for floor lamps.
Preparing the Area for Installation
Assessing the Space
Once you have chosen the perfect floor lamp, the next step is to prepare the area where it will be installed. Start by assessing the space to ensure that it can accommodate the lamp without overcrowding the room. Clear away any clutter or obstacles that might interfere with the lamp’s placement.
Considering Power Outlets
This not only creates a clean environment but also allows you to visualize how the lamp will fit into the overall layout of the room. Next, consider the proximity to power outlets. Floor lamps typically require an electrical source, so it’s essential to position your lamp within reach of an outlet.
Ensuring Safety and Aesthetics
If your chosen location is too far from an outlet, you may need to consider using an extension cord or relocating the lamp to a more convenient spot. Additionally, think about how the lamp will interact with other elements in the room, such as furniture and decor. Ensure that it does not obstruct pathways or create hazards while still being functional and aesthetically pleasing.
Assembling the Floor Lamp
With the area prepared, it’s time to assemble your floor lamp. Most floor lamps come with detailed instructions that guide you through the assembly process step by step. Begin by laying out all the components on a flat surface to ensure that you have everything you need before starting.
This typically includes the base, pole sections, lampshade, and any necessary hardware such as screws or bolts. As you begin assembling, pay close attention to the order of assembly as outlined in the instructions. Start with attaching the base to the first pole section; this often involves inserting a screw or twisting a connector until secure.
If your lamp has multiple pole sections, continue adding them one at a time until you reach the desired height. When attaching the lampshade, ensure that it is securely fastened to prevent it from wobbling or falling off once the lamp is in use. If your lamp features any additional elements like dimmers or adjustable arms, take care to follow the specific instructions for those components as well.
Placing the Lamp in the Desired Location
After successfully assembling your floor lamp, it’s time to place it in its designated spot. Carefully lift the lamp and position it according to your initial plan. It’s advisable to have someone assist you during this step if the lamp is particularly heavy or cumbersome.
Once in place, take a moment to step back and evaluate how it looks within the context of your room. Consider factors such as balance and symmetry; for example, if you have a large piece of furniture on one side of the room, placing the lamp on the opposite side can create visual harmony. Additionally, think about how light will interact with other elements in the room.
If your floor lamp has an adjustable shade or arm, experiment with different angles to see how they affect illumination and ambiance. You may find that angling the shade towards a wall can create a soft glow that enhances the overall atmosphere of the space. Don’t hesitate to move the lamp around until you find its perfect spot; sometimes, it takes a few adjustments to achieve optimal placement.
Securing the Lamp for Safety
Safety is paramount when installing any lighting fixture, including floor lamps. Once you have positioned your lamp, it’s essential to ensure that it is stable and secure. Check that all components are tightly fastened and that there are no loose parts that could lead to accidents.
A wobbly lamp can pose a risk of tipping over, especially in households with pets or small children. If your floor lamp has a weighted base, make sure it is properly positioned on a flat surface to maximize stability. In cases where you are concerned about tipping hazards, consider using adhesive pads or rubber feet under the base to provide additional grip and prevent sliding on smooth floors.
For extra precaution, especially in high-traffic areas, you might want to anchor the cord along walls or furniture edges using cord clips to minimize tripping risks.
Testing the Lamp
With everything securely in place, it’s time to test your newly installed floor lamp. Plug it into an outlet and turn it on to see how it illuminates your space. Observe how well it lights up the area and whether it meets your expectations for brightness and ambiance.
If your lamp has multiple brightness settings or color temperatures, experiment with these features to find what works best for your needs. During this testing phase, pay attention to any unusual sounds or flickering lights that may indicate an issue with the bulb or electrical connection. If everything appears to be functioning correctly, take note of how the light interacts with other elements in your room—does it create shadows?
Does it highlight certain features? This evaluation will help you determine if any adjustments are needed in terms of placement or bulb type.
Troubleshooting Common Installation Issues
Even with careful planning and execution, issues can arise during installation that may require troubleshooting. One common problem is flickering lights, which can be caused by loose connections either at the bulb socket or within the electrical cord itself. If you notice flickering after installation, turn off the lamp and check all connections to ensure they are secure.
Another issue might be inadequate lighting; if you find that your floor lamp isn’t providing enough illumination for your needs, consider changing the bulb to one with a higher wattage (if compatible) or adjusting its position for better light distribution. In some cases, using a lampshade with a lighter color can enhance brightness by allowing more light to pass through. If problems persist despite these adjustments, consulting an electrician may be necessary to address any underlying electrical issues.
Enjoying Your Effortless Floor Lamp Installation
Having successfully installed your floor lamp, take a moment to appreciate your hard work and enjoy the transformation it brings to your space. A well-placed floor lamp can significantly enhance both functionality and aesthetics in any room, providing not just light but also warmth and character. Whether you’re curling up with a book in its glow or using it as part of your evening ambiance during gatherings with friends and family, your new addition will undoubtedly become an integral part of your home.
Moreover, this experience can serve as a stepping stone for future home improvement projects. The skills you’ve developed during this installation process—such as assessing space needs, assembling components carefully, and troubleshooting issues—will be invaluable as you tackle other DIY endeavors around your home. Embrace this newfound confidence and creativity as you continue to curate a living environment that reflects your personal style and meets your practical needs.


+ There are no comments
Add yours